
How to Fit a Washing Machine Yourself
Getting a new washing machine delivered and then having to wait for someone to come and install it is one of life’s more unnecessary frustrations. Especially when it’s actually a pretty simple job. I’ve done this a few times now and it genuinely doesn’t take long once you know what you’re doing.
Before You Start – What You’ll Need
Most new washing machines come with the inlet hose included, but check what’s in the box first. You’ll also want to make sure you have:
A cold water supply connection (usually a standard threaded valve under or behind the machine space)
A drain connection (the standpipe or sink drain)
A 13amp plug socket nearby
One important thing: remove the transit bolts before you do anything else. These are the chunky bolts in the back of the machine that hold the drum in place during delivery. They’re usually blue or red. If you run the machine with them in, you’ll do serious damage. They come out with a spanner – most machines come with a plastic spanner in the accessories bag.
Keep the bolts somewhere safe in case you ever need to move the machine again.
Step 1: Connect the Inlet Hose
The inlet hose brings cold water into the machine. On most UK machines this screws onto the back of the appliance at one end, and onto your cold water supply valve at the other.
Handtighten the connections first, then give them a quarterturn with the adjustable spanner. Don’t overtighten – the washers inside the fittings do the sealing work.
Hot and cold supply? Some older machines and certain models have both hot and cold inlets. On a standard modern machine it’s usually cold only. Check your manual.
Step 2: Connect the Drain Hose
The drain hose takes the dirty water away after each cycle. It loops up and hooks into your standpipe or over the edge of your sink.
The important bit here is the loop. The drain hose needs to be routed up high before it goes down into the drain – this is called a standpipe or ptrap setup, and it stops water from syphoning back into the machine midcycle. Most machines come with a plastic clip or bracket to hold the hose up at the back.
If you’re putting the hose into a standpipe, it should sit loosely inside (not pushed in too deep or sealed tight) so air can get in.
Step 3: Slide It Into Position
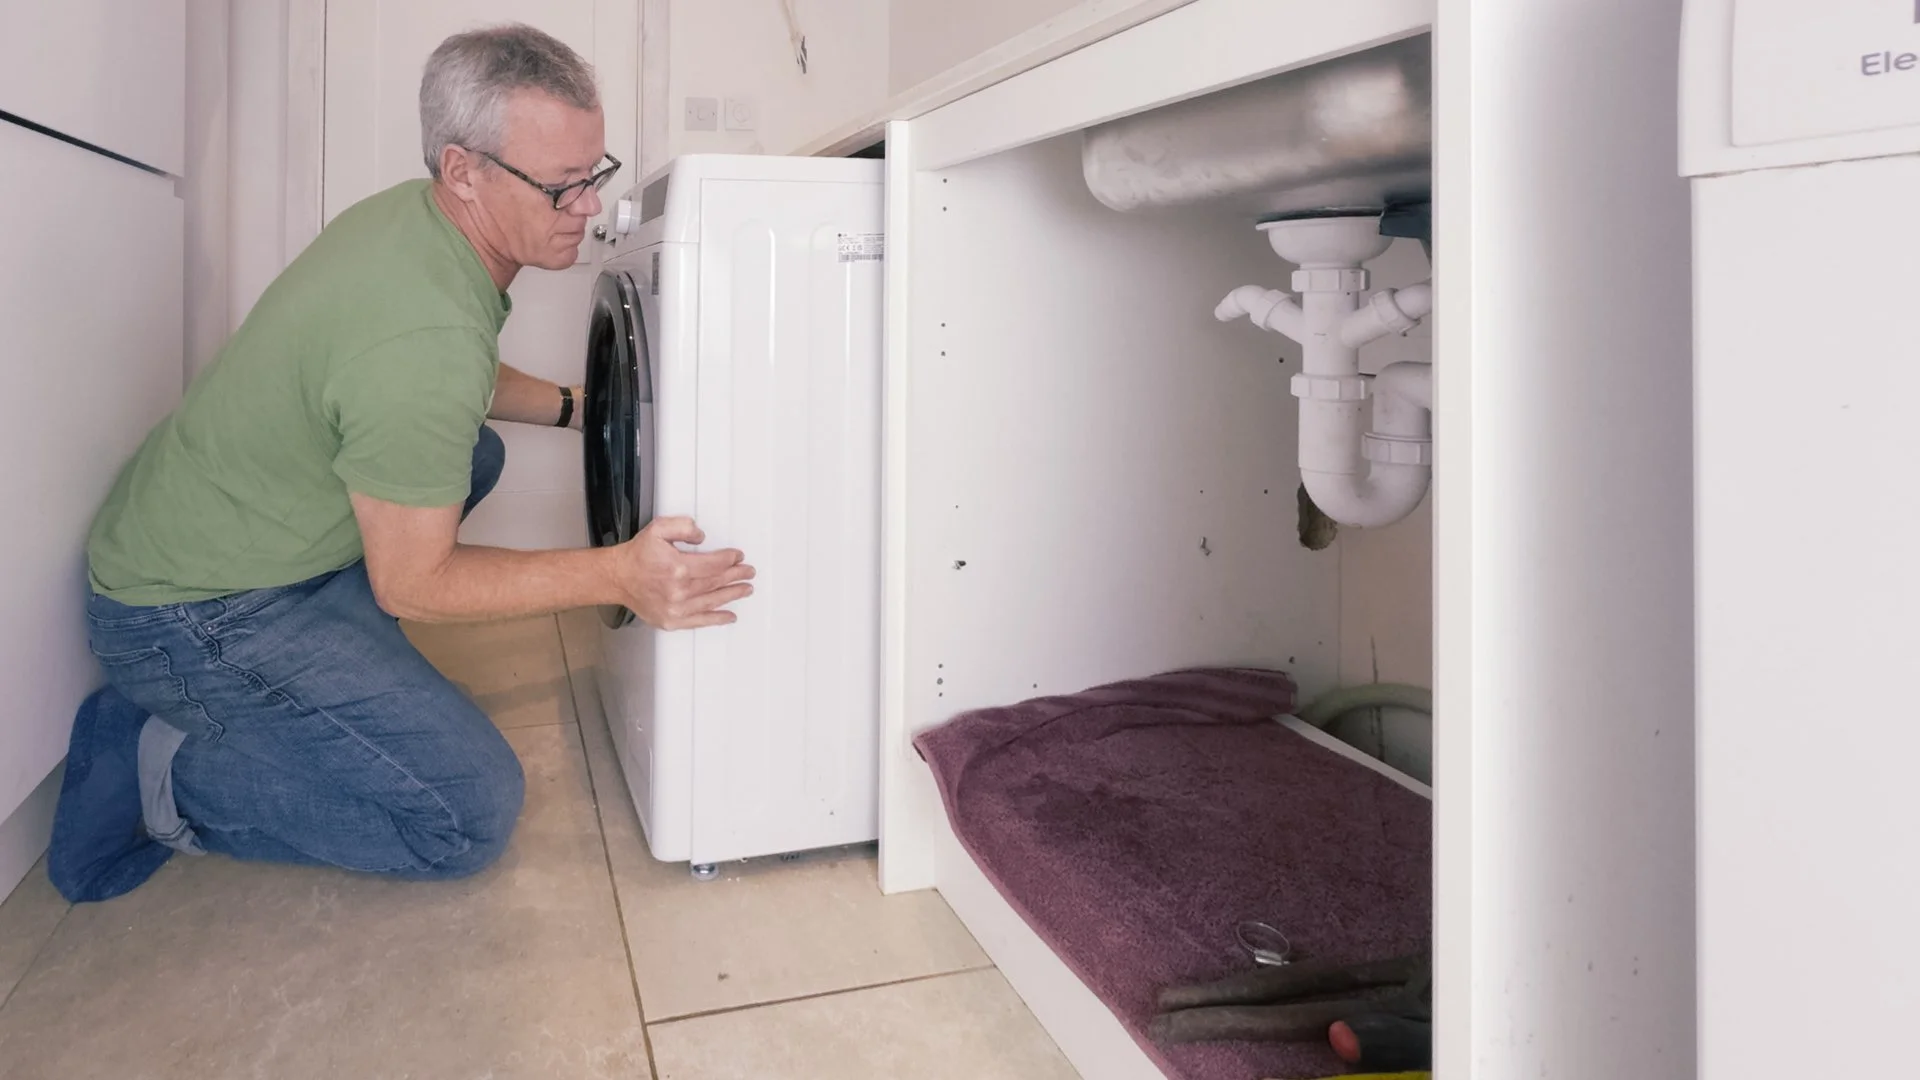
With both hoses connected, carefully slide the machine into its space. Watch the hoses – you don’t want them kinked or pinched behind the machine.
Don’t plug it in yet.
Step 4: Level the Machine
A machine that isn’t level will vibrate all over the place on a spin cycle. Not ideal. All four adjustable feet need to be in firm contact with the floor.
Use a spirit level across the top of the machine – side to side and front to back. The feet screw in and out by hand (or with pliers if they’re stiff). Adjust them until the bubble is centred, then tighten the lock nuts back up against the base of the machine so they can’t move.
I’ve got a separate short video on this if you want to see exactly how it’s done – link at the bottom.
Step 5: Check Your Connections and Test
Before you plug in, doublecheck:
Both hose connections are handtight plus a quarterturn
The drain hose is looped up properly and not kinked
Transit bolts are definitely out
Machine is level - Watch my Short on YT on how to do this.
Now plug in, turn on the water supply valve, and run a quick rinse cycle with no laundry in it. Stay close for the first few minutes and check for any leaks at the hose connections. Tighten slightly if needed.
How Long Does It Take?
About 20–30 minutes, including levelling. The first time takes a bit longer because you’re working it all out – next time it’s a 15 minute job.
Final Thoughts
Fitting a washing machine is one of those jobs that sounds more complicated than it is. Once you’ve done it once, you’ll never pay someone else to do it again.

Things you’ll need…
Towel or small bowl

A dripping outdoor tap is a common, wasteful annoyance that can be easily fixed without hiring a plumber, saving you time and money.