
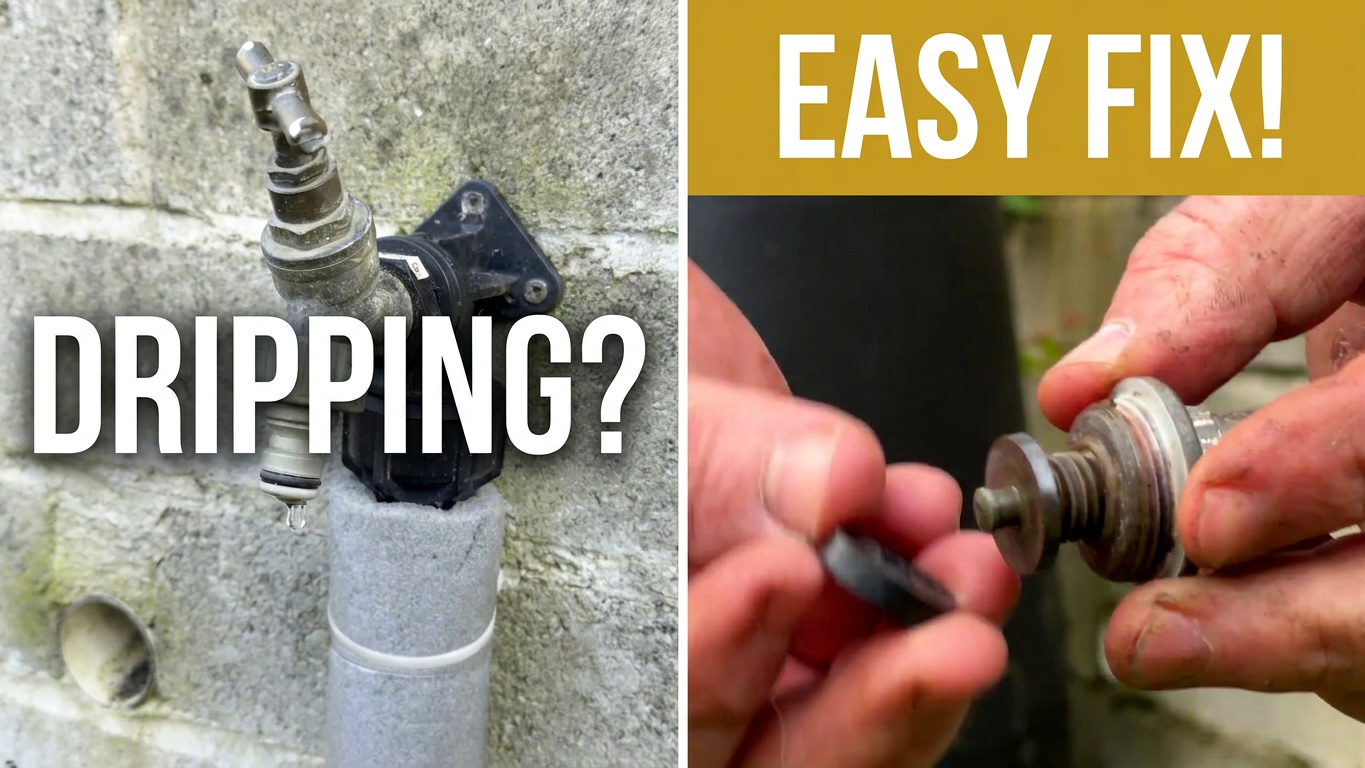
How to fix a dripping mixer tap
A dripping kitchen mixer tap isn't just annoying — it wastes thousands of litres of water a year. The good news is you can fix it yourself in under 10 minutes with a £10 cartridge and a couple of basic tools. No plumber needed.
Replacement Cartridges https://geni.us/iGmARxH
(Please check carefully to make sure they fit your specific mixer tap)
Method
If you have a dripping kitchen mixer tap, it's likely that the cartridge inside needs replacing. Fortunately, this is a relatively simple task that you can do yourself with just a few basic tools. In this video, we'll show you how to change the cartridge on a dripping mixer tap step-by-step, so you can save money and avoid calling in a plumber.
📄 Want a printable step-by-step guide?Download the one-page PDF repair guide for £4
Before you Start
You will almost certainly need to remove the old cartridge first before buying a replacement — tap cartridges vary widely and getting the wrong one is a common mistake. Follow steps 1–3 below to remove the old cartridge, then take it to a plumbers merchant or search online using the make and model of your tap to find the correct replacement. Once you have the right cartridge, return to step 4 to complete the repair.
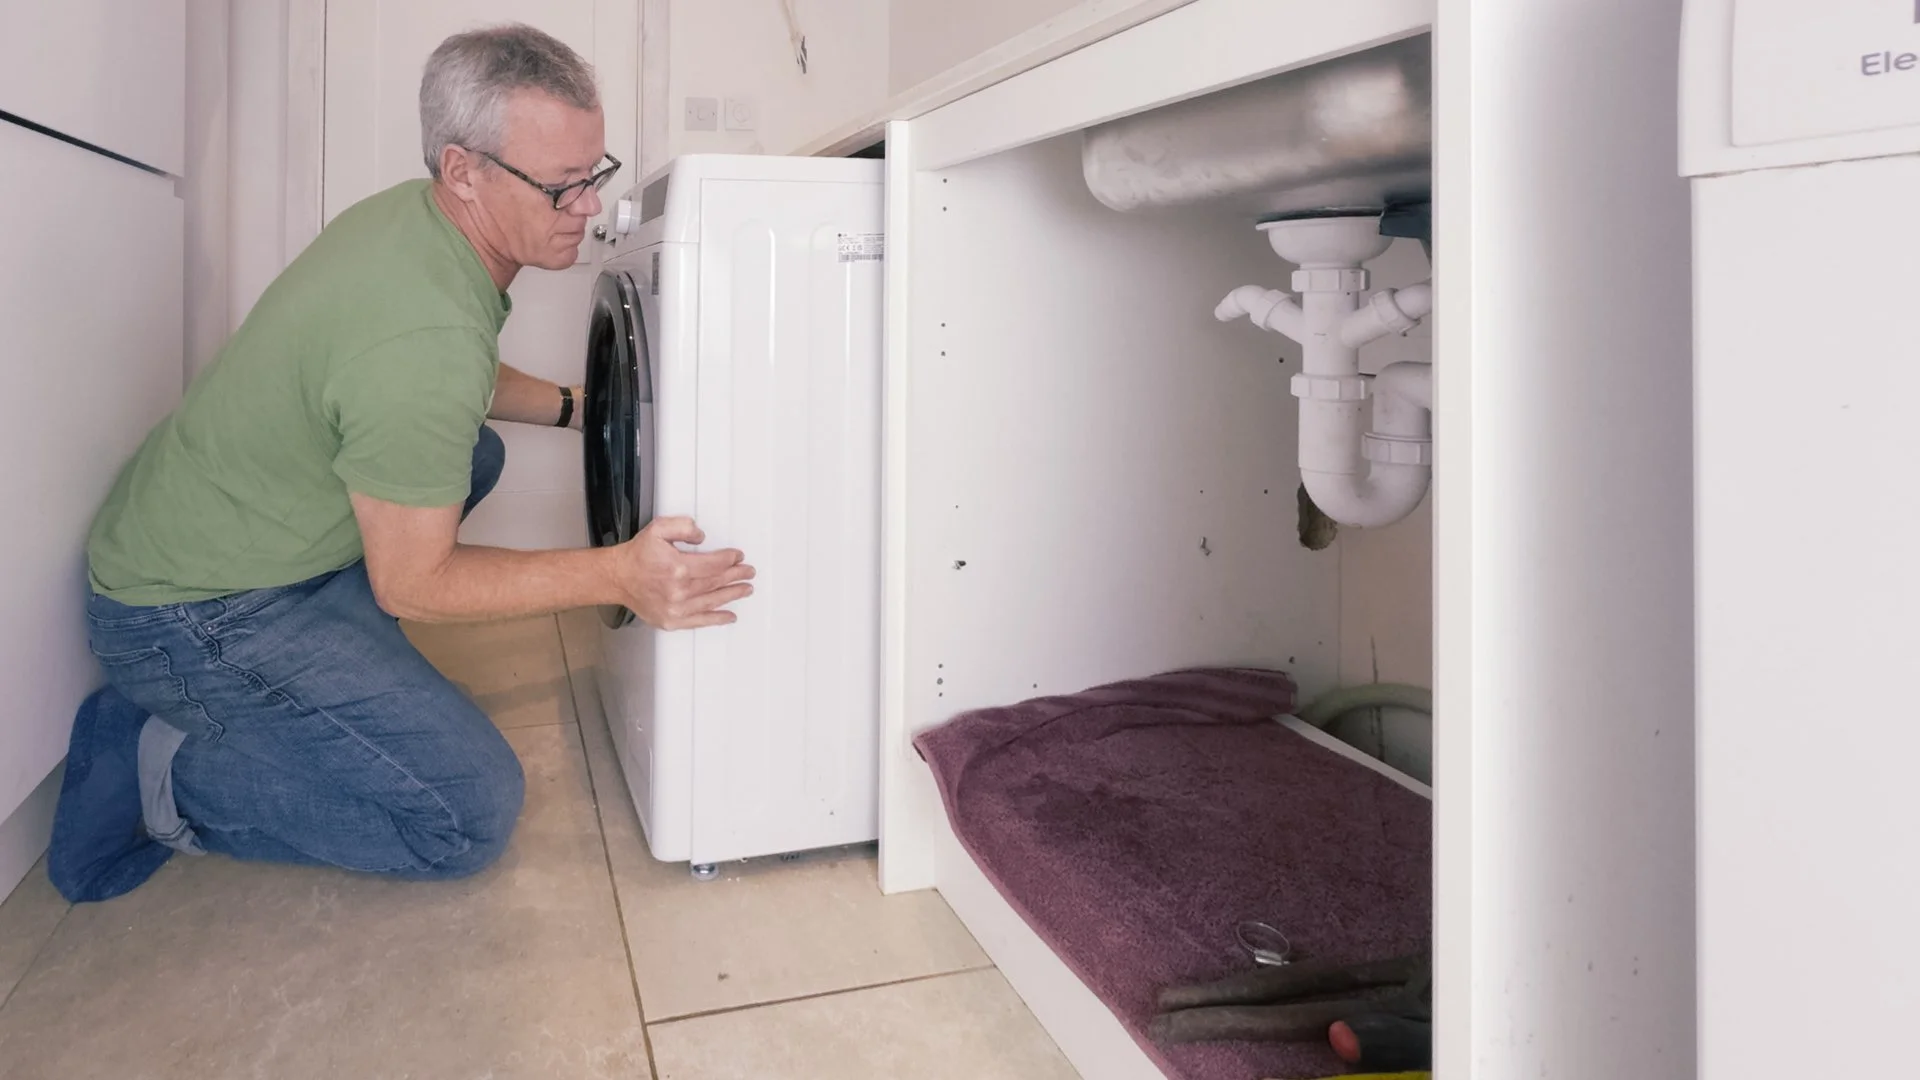
Once you have the cartridge, turn off the water supply to the tap using the isolating valve under the sink.
Remove the handle: First, you need to remove the handle of the mixer tap. This is usually held in place by a small grub screw underneath or on the side of the handle. Use an Allen key to remove the grub screw, and then gently lift the handle off the tap.
Remove the cartridge: With the handle removed, you should be able to see the cartridge inside the tap body. To remove the cartridge you will need an adjustable wrench. You should be able to gently unscrew the cartridge once you have loosened it with the wrench.
Install the new cartridge: Take the new cartridge and insert it into the tap body in the same position as the old one. Make sure the cartridge is screwed in all the way and is aligned correctly and then tighten gently with the wrench, don’t over tighten it.
Reassemble the tap: Once the new cartridge is installed, you can reattach the handle to the tap. Make sure the handle is aligned correctly with the tap body, and then tighten the grub screw to hold it in place.
Turn on the water supply: With everything reassembled, you can turn on the water supply to the tap using the isolating valve under the sink. Turn the tap on to check for any leaks, and if everything is working correctly, the dripping should have stopped.
In conclusion, changing the cartridge on a dripping mixer tap is a simple task that you can easily do yourself with just a few basic tools. By following these steps, you can save money on calling in a plumber and have your tap working like new again. Remember to always turn off the water supply before starting any plumbing work.
What can go wrong?
Water comes out as you unscrew the cartridge. There will be a little water in the tap itself, but if it keeps on flowing out then it’s probably due to the isolation valve not being turned off correctly. Tighten the original cartridge back in, turn on the tap and then turn off the isolation valve until the water stops flowing. You should now be good to go. If the water keeps flowing after turning the isolation tap off you probably need to call a plumber to check it out.
The tap keeps dripping after you put the correct new cartridge in. This could be because both valves on the mixer tap need changing and the other one is leaking or that you turned off the wrong isolation valve under the sink.

Things you’ll need….
Replacement Cartridges
(Please check carefully to make sure they fit your specific mixer tap)
Allen key set
Stanley flat head screwdriver
Stanley adjustable spanner
Adjustable Water Pump Pliers
PTFE Plumber’s Tape